You can watch a video version of this tutorial below
This guide contains a list of best practices and things to avoid when you create InDesign documents with editable pages.
The publications created in such a way may be modified from the Webpublication Backoffice and in the Uprez Application.
1. Transforming images
1.1 Always set transformations like Flip and Rotate to the frame of the images and not directly on the image itself.

If you set the transforms to the image itslef they will apply to all future transformations done in the Uprez Editor. The control buttons will be displaced and if you replace the image from the Editor the new image will get transformed too.

Do not double click the image or use the direct selection tool before you apply the transforms.

Correct


Incorrect

1.2 Do not create images made up of several parts or paths directly in inDesign.
In that case every part of the image will be exported as a separate editable element. It would be better to prepare the images in advance and import them in inDesign as links.
2. Text styling and animation
2.1 If possible, set animations directly to the text frames. If there are several lines of animated text then the lines should not overlap.
2.2 Do not set the line height smaller than the font size because the top of the text will get cropped. Do not set it larger than the frame, or the text may disappear.

2.3 Do not set underline to text or bullets to paragraphs. These styles will not appear when the text is edited. You can set these styles inside the Uprez Editor.


3. Use line height to offset text
To set a distance between paragraphs in a text frame set a bigger line height (leading) to the next paragraph. Do not use the “Space before” and “Space after” settings, because the paragraph spaces are ignored by the Uprez Editor.
The bigger line height should be set on the first character in the first line of a paragraph or on the full first line.
Use line height
Do not use before/after

4. Leave some extra space
4.1 Make sure you leave some blank space between the text and its frame to prevent the text from cropping. Avoid clicking “Fit frame to content” on text frames.
4.2 All text frames and images should be inside the page otherwise the content situated outside of the page will be cropped
4.3 If a text field has a large line height and overlaps another text field situated underneath it, make sure you arrange the lower field on top, so that it could be selected in the editor.
Right click the field and select Arrange -> Bring to front.
5. Activate your fonts
Sometimes not all characters of a font are exported to the Editor.
This may be caused by a conflict between different font types (TrueType and OpenType). It happens when you have a TrueType font installed on your computer and an OpenType font activated from Adobe. A hint for this situation is when you see TT or OTF in parentheses in the name of the font in the menu like this:

To solve such problems do the following:
- Open Find more tab in the font menu.
- Find the needed font.
- Choose a font style and click on the Cloud icon on the right.
This will activate the font.
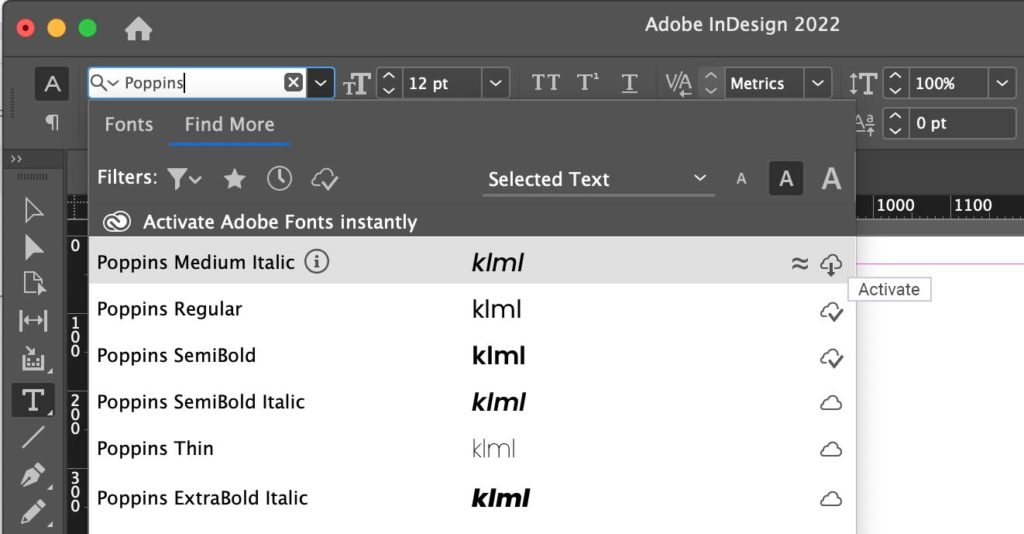
Alternatively, you can click on the Info icon next to the name of the fonts and go to Adobe fonts website where you can also activate it.
If it doesn’t help, you can try to deactivate all styles for this font and use fonts from the Document Fonts folder.
Note: don’t activate/deactivate fonts in Creative Cloud Desktop application, use the Adobe fonts website.
6. Check for missing styles
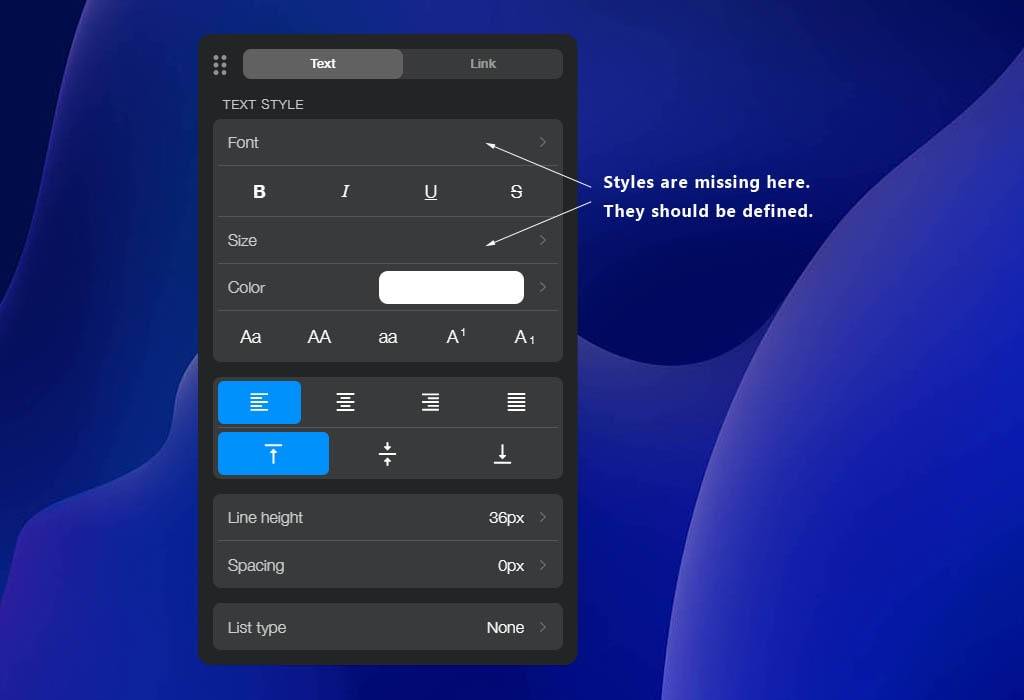
In some rare occasions there can be issues with edited text not showing correctly in the publication.
In such cases open the publication in the editor and select the problematic text. In the text settings panel make sure there aren’t any important styles that are not applied. Set all the necessary text formatting styles and the issue will be resolved.
7. Hide Until Animated
When you create hidden content which only appears after a button is clicked ( like a pop-in for example) make sure you check the “Hide Until Animated” option in the Animation Settings for elements animate to appear.
Use the option “Hide after animating” for alements that animate to disappear.
Make sure you do this for each hidden element. Otherwise you may encounder problems like page content being overlapped by the hidden one after it is modified in the Editor.

Clean up the Object styles
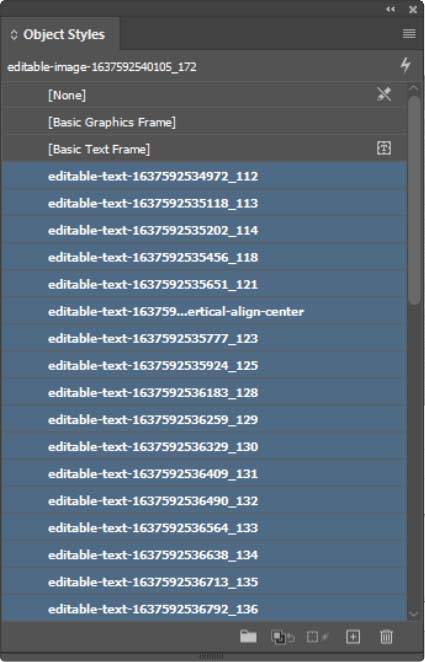
Sometimes InDesign can keep some service object styles which were created during editable export.
These object styles can cause issues in future exports. Unfortunately it’s not possible to correctly remove these styles using inDesign script without losing page items formatting.
Here are steps how to remove these styles manually:
8.1 Open Window -> Styles -> Object styles.
8.2 Select all the styles which start with ‘editable-’ and delete them (click the Trash icon in the bottom right corner)
8.3 In the confirmation popup select Replace with: None. Check both Preserve formatting and Apply to All. Then click OK.
9. Use text frames in tables
It is not possible to edit inDesign tables in the Editor. You should use regular text frames instead of table cells.
If you are already using a table which you would like to make editable you can convert the cell structure into a vecor image and add text frames on top of the editable cells.
InDesign tables are not editable
Place the cell contents in text frames
10. Editting media in scrollable areas
It’s now possible to edit images and videos inside scrollable areas in Uprez Editor.
In order to replace videos or photos in a scrollable area, you need to make sure that you embed them correctly from InDesign. Please follow the steps below:
- Create the desired elements (text area, video, image etc.) which will be the content of the scrollable area.
*The video must be embedded from the plugin. - Group all items.
- “Paste into” the group you have created in the scrollable area.
- Once the content is pasted into the scrollable area, double click to enter the group inside the scrllable area and assign the video again. This action should be done after placing into the scrollable area, as plugin enhancements, such as videos, are lost when an item is copied to the clipboard.
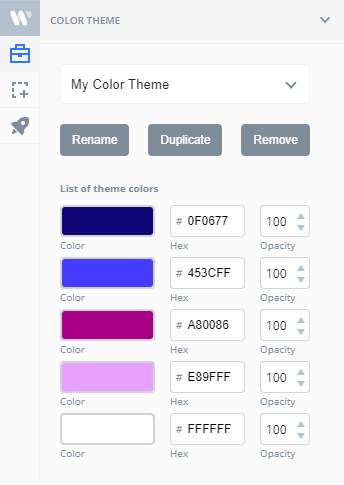
11. Editable color themes
To create a new color theme, go to:
Webpublication plugin -> Project setup and add a theme name.
Supported elements
Rectangles
(with or without rounded corners)
Circles and ovals
Buttons with states
(normal/rollover/click)
Straight solid lines
Not supported
Polygons
Shapes and curves
Lines drawn at an angle
Strokes and stroke patterns
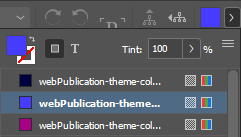
Applying theme colors
Select a shape
Choose a color from the plugin
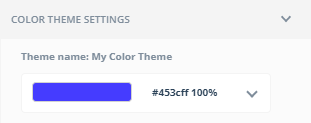
Do not apply the color from the indesign swatches
More hints and restrictions
- Do not apply a theme color directly as a background of a text frame. Use a rectangle element instead.
- Do not draw slanted lines, draw only straight lines and use rotation transformation. Dotted and dashed lines are not supported. -Do not place images or graphics directly inside a colored element, as they will be hidden in the exported file. Place the images or graphics inside another element on top of the colored one.
- It’s not possible to apply a theme color to strokes. If you need such effect, you have to create the second element with a bigger size and place it behind the first one and fill it with theme color.
- If a colored element belongs to a group, you need to apply a theme color directly to the element, not the group.


No comments.