Dynamic content (also known as "transferring") is an advanced feature for digital publications that allows specific elements to change based on a parameter in the publication’s URL. This enables you to create personalized experiences by tailoring content to individual users. Variations can be based on language, user preferences, or any other criteria that help you segment your audience effectively.
A Practical Example
Imagine you have a digital catalog showcasing products and prices. You also have a group of loyal customers who receive special discounts. Instead of creating a separate catalog for them, you can enable dynamic content and mark certain prices as dynamic. Then, based on the transferring parameter in the URL, different prices will be displayed in the same catalog. This is particularly useful when you have multiple user segments, each requiring specific content variations.
How to Create a Publication with Dynamic Content
Follow these steps to integrate dynamic content into your publication:
1. Define Your User Groups
Decide which groups need to see customized content. Each group should have a unique identifier, referred to as the "transferring ID." For example, you could use "loyal-customers" as an ID for your preferred customers.
2. Prepare a Spreadsheet
Create a Google Spreadsheet or an .xlsx file:
- In the first cell, type
"id". - Below it, list each transferring ID as row names.
- Here is a Sample xlsx file which you can use.
3. Set Up Dynamic Elements in InDesign
- Open your publication's InDesign file and log in to the Webpublication plugin.
- Go to the Enrichments tab.
- Select a text frame you want to make dynamic, then activate the "Dynamic Content" enrichment.
- In the "Transferring Key" field, enter a unique name for the element, e.g.,
"title1". - Copy this name and paste it as a new column heading in your spreadsheet.
- Enter the alternative content versions for each user group in the corresponding rows.
- If no transferring parameter is set in the URL, the original InDesign text will be displayed.
- Repeat this process for all elements you want to make dynamic.

4. Activate Dynamic Content in Webpublication
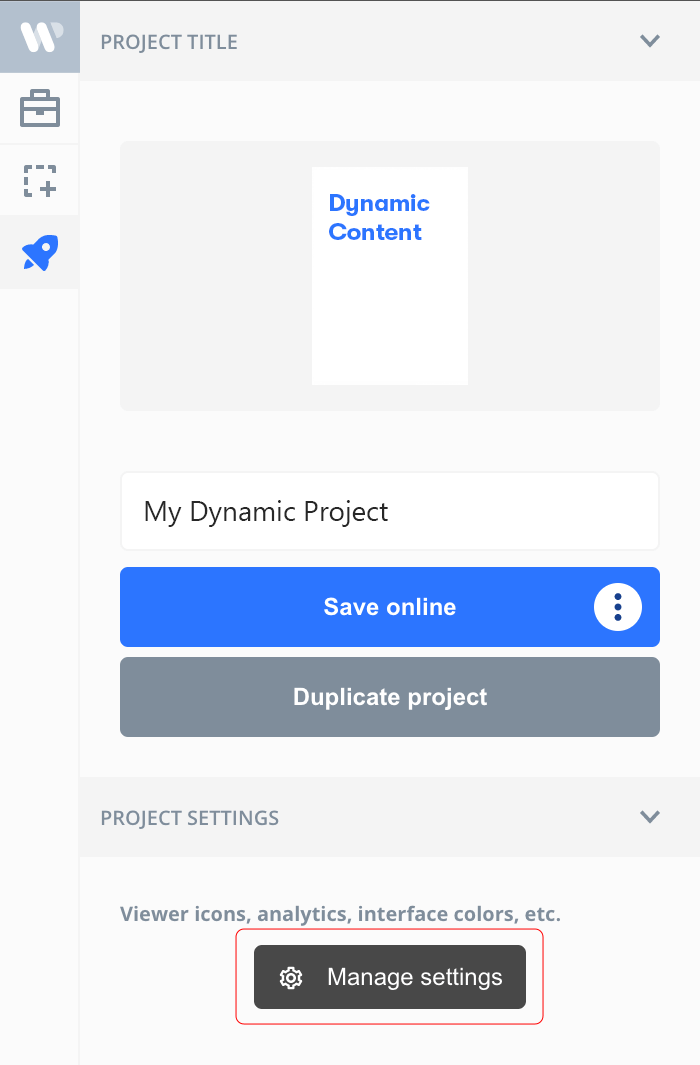
- Save your publication online, and when it finishes processing click Manage Settings
- The Webpublication Administration area will open on your projects Settings page. Select Advanced Settings and enable Dynamic Content.
- If using a Google Spreadsheet:
- Open your spreadsheet and click File → Share → Publish to the Web.
- Select the correct sheet (if needed) and choose CSV format.
- Click Publish, then copy the generated link.
- In the Webpublication settings, check "Link a Google Spreadsheet", then paste the link.
- If using an
.xlsor.csvfile, upload it directly.

5. Save and Publish
Click Save, and your dynamic content is ready!
How to Test Your Dynamic Content
- Open your publication—by default, all dynamic fields will display their original values.
- Append a parameter to the URL to preview different variations. Example:
http://{publication-url}/?transferring={id}#page=1
Replace {id} with the desired transferring ID to view the corresponding content.
Notes & Limitations
- Currently, only text frames can be made dynamic via the InDesign plugin, but support for additional elements will be available in the future.
- All types of enrichments can be made editable programmatically upon request.
- Support for HTML tags in spreadsheet content can be enabled upon request.


No comments.